

WireGuard Linux Server Setup: A Reliable Step-by-Step
WireGuard is the right default for a Linux VPN server, but the setup fails when routing and firewall rules get treated as optional. To set up WireGuard on a Linux server, install wireguard-tools, generate one key pair per device, create wg0, enable IPv4 forwarding, add a peer, and allow UDP traffic through the server firewall. Then test the handshake before you debug DNS or full-tunnel routing.
The short answer is to build a split tunnel first. Confirm the handshake and tunnel address, then add forwarding, masquerading, and full-tunnel DNS one layer at a time.
What do you need before you start?
You need:
- A Linux server with a public IP address or a reachable DNS name.
- Root or
sudoaccess. - A client device with WireGuard installed.
- A UDP port allowed by the server's firewall and any upstream cloud firewall.
- The server's public network interface name, such as
eth0orens3.
WireGuard support is built into the Linux kernel. It was already in tree for Ubuntu 20.04 LTS.
The user-space tools still matter. The wg command configures the interface, while wg-quick reads a configuration file and handles the routine bring-up work.
Use the official WireGuard installation instructions for your distribution. Package names and repository support vary, so do not force an Ubuntu command onto a different distribution and call the resulting error mysterious.
On Debian or Ubuntu, install the tools like this:
sudo apt update
sudo apt install wireguard wireguard-tools
On Fedora-based systems, use the distribution's package manager and install the packages that provide wireguard-tools. Check that the commands are available:
command -v wg
command -v wg-quick
If both commands return a path, the tools are installed. The kernel module may load automatically when you bring up the interface.
How do you set up WireGuard on a Linux server?
Set up the server in this order. Do not start by copying a finished configuration from a forum. You need to know which address belongs to the tunnel, which address belongs to the client, and which interface carries traffic to the internet.
1. Find the server's internet interface
Run:
ip -br link
ip route get 1.1.1.1
The first command shows interface names and their state. The second shows which interface Linux would use to reach an outside address.
Look for the dev value in the output from ip route get. If it says dev eth0, then eth0 is the server's internet-facing interface. Use that name in the NAT rule later.
Do not assume the interface is eth0. Many virtual servers use names such as ens3, enp1s0, or something assigned by the hosting platform. A wrong interface name gives you a working handshake and a useless tunnel, which is a particularly efficient way to waste an evening.
2. Generate the server key pair
Create a directory for the WireGuard configuration and restrict access to it:
sudo install -d -m 700 /etc/wireguard
sudo sh -c 'umask 077; wg genkey > /etc/wireguard/server.key'
sudo sh -c 'wg pubkey < /etc/wireguard/server.key > /etc/wireguard/server.pub'
The private key stays on the server. The public key goes into each client configuration. Never paste the private key into a support forum, shell history, ticket, or screenshot.
Read the server public key:
sudo cat /etc/wireguard/server.pub
You can safely copy that value. You cannot safely copy the private key.
3. Enable IPv4 forwarding
A VPN server must forward packets between wg0 and its internet interface. Enable that explicitly:
sudo tee /etc/sysctl.d/99-wireguard-forward.conf >/dev/null <<'EOF'
net.ipv4.ip_forward = 1
EOF

sudo sysctl --system
sysctl net.ipv4.ip_forward
The final command should show net.ipv4.ip_forward = 1. If it remains disabled, the peer may complete a handshake while all forwarded traffic dies inside the server.
This example configures IPv4 only. Do not add IPv6 routes until you have enabled IPv6 forwarding, assigned IPv6 addresses, and added matching firewall rules. An incomplete IPv6 setup creates confusing leaks and broken connections.
4. Create the server interface
Read the private key into a shell variable:
SERVER_PRIVATE_KEY=$(sudo cat /etc/wireguard/server.key)
Now create /etc/wireguard/wg0.conf:
sudo tee /etc/wireguard/wg0.conf >/dev/null <<EOF
[Interface]
Address = 10.8.0.1/24
ListenPort = 51820
PrivateKey = ${SERVER_PRIVATE_KEY}

PostUp = iptables -A FORWARD -i %i -j ACCEPT; iptables -A FORWARD -o %i -j ACCEPT; iptables -t nat -A POSTROUTING -o eth0 -j MASQUERADE
PostDown = iptables -D FORWARD -i %i -j ACCEPT; iptables -D FORWARD -o %i -j ACCEPT; iptables -t nat -D POSTROUTING -o eth0 -j MASQUERADE
EOF

sudo chmod 600 /etc/wireguard/wg0.conf
Replace eth0 with the interface returned by ip route get. The tunnel address 10.8.0.1 is private to the VPN. It is not the server's public address.
The PostUp rules do two jobs. They allow packets to pass through the server, and they use masquerading so outside systems see the server's public address rather than the private VPN address. The PostDown rules remove those changes when the interface goes down.
This example uses iptables, which is commonly provided through an nftables compatibility layer on current distributions. If your server uses native nftables rules managed by a firewall service, put the forwarding and masquerading rules there instead. Do not run several firewall managers at once and then guess which one deleted your rule.
5. Generate a client key pair
Run this on the client if possible:
umask 077
wg genkey | tee client.key | wg pubkey > client.pub
If you generate the keys on the server, copy the client private key to the client through a protected channel and remove the server copy afterward.
Read the client public key:
cat client.pub
Each client needs its own key pair and its own tunnel address. Do not reuse one private key across a laptop, phone, and home router. Revoking one device then means replacing the identity everywhere.
6. Add the client as a server peer
Append this peer to /etc/wireguard/wg0.conf:
[Peer]
PublicKey = CLIENT_PUBLIC_KEY
AllowedIPs = 10.8.0.2/32
Replace CLIENT_PUBLIC_KEY with the value from client.pub.
The /32 matters. It tells the server that this peer owns one tunnel address. For a second client, use another address such as 10.8.0.3/32 and add another peer block. Never assign the same AllowedIPs value to two peers. WireGuard uses it to decide which peer receives traffic.
7. Create the client configuration
Create a client configuration named client.conf:
[Interface]
PrivateKey = CLIENT_PRIVATE_KEY
Address = 10.8.0.2/32

[Peer]
PublicKey = SERVER_PUBLIC_KEY
Endpoint = vpn.example.com:51820
AllowedIPs = 10.8.0.0/24
PersistentKeepalive = 25
Replace these placeholders:
CLIENT_PRIVATE_KEYwith the client private key.SERVER_PUBLIC_KEYwith the server public key.vpn.example.comwith the server's public DNS name or address.
This configuration is a split tunnel. It sends traffic for the VPN network through WireGuard and leaves ordinary internet traffic on the client's existing connection. Start here because it proves the tunnel without adding DNS and full-routing problems.
PersistentKeepalive helps a client behind a stateful NAT keep its mapping open. It belongs on the client in that situation, not automatically on every peer. A server with a public address usually does not need it.
For a full IPv4 tunnel, change the client peer section to:
[Peer]
PublicKey = SERVER_PUBLIC_KEY
Endpoint = vpn.example.com:51820
AllowedIPs = 0.0.0.0/0
PersistentKeepalive = 25
That sends all IPv4 traffic through the server. You must also provide usable DNS through the tunnel. Add a DNS line only for a resolver that the client can reach and that you intend to use. The server's VPN interface does not become a DNS server by existing.
8. Start WireGuard and confirm the interface
Bring up the server:
sudo wg-quick up wg0
sudo wg show
ip addr show dev wg0
wg-quick up wg0 creates the interface, assigns its address, applies the peer settings, and runs the firewall hooks. wg show displays the public key, listening port, peer state, latest handshake, and transfer counters.
Enable it at boot:
sudo systemctl enable wg-quick@wg0
sudo systemctl status wg-quick@wg0
Do not enable it until sudo wg-quick up wg0 works manually. Otherwise, a bad configuration becomes a boot-time systemd failure instead of a command you can read immediately.
Which firewall rules does WireGuard need?
Allow the WireGuard UDP port on the server's host firewall and any firewall in front of it:
sudo iptables -A INPUT -p udp --dport 51820 -j ACCEPT
If a cloud firewall or security group controls inbound traffic, allow UDP port 51820 there too. The server cannot receive a packet that the upstream firewall discarded.
The rules in PostUp handle forwarding and masquerading for the example interface. Check the active rules:
sudo iptables -S
sudo iptables -t nat -S
The first command shows filter rules. The second shows NAT rules. If the handshake works but the client cannot reach the internet, check these rules before changing keys.
Firewall persistence depends on the distribution. A rule entered directly with iptables may disappear after reboot unless a firewall service saves and restores it. Use the firewall system already managing the server, or move the rules into a persistent configuration. Two half-configured firewall systems are worse than one strict one.
How do you test the tunnel without guessing?
Test in layers. A handshake proves only that encrypted packets reached the peer and returned. It does not prove forwarding, NAT, DNS, or application traffic.
On the server, run:
sudo wg show
Look for a recent latest handshake and increasing receive and transmit counters. If the handshake field is empty, check the endpoint name, keys, UDP firewall rule, and server address.
On the client, bring up the configuration:
sudo wg-quick up ./client.conf
sudo wg show
ping -c 3 10.8.0.1
The ping tests the tunnel address. If it fails, do not troubleshoot DNS yet.
Next, test the server as a router:
ping -c 3 1.1.1.1
If the tunnel address responds but the outside address does not, inspect forwarding and NAT. Check the server's route and the interface named in PostUp:
ip route
sudo iptables -t nat -S POSTROUTING
If an outside IP responds but hostnames fail, the tunnel is working and DNS is not. Check the client DNS setting and the resolver it points to. Full-tunnel configurations often fail here because the author routes all traffic through the VPN but never provides DNS.
To see whether packets reach the server at all, use:
sudo tcpdump -ni any udp port 51820
This shows encrypted WireGuard packets at the network boundary. It does not decrypt the payload. For traffic after decryption, capture on wg0:
sudo tcpdump -ni wg0
You can also trace VPN traffic across encryption with eBPF once the basic path works. Do not reach for tracing before wg show tells you whether a handshake exists.
What should you check when the handshake works but traffic fails?

Check the failure layer instead of changing every setting.
| Symptom | Check first | What it usually tells you |
|---|---|---|
| No latest handshake | Endpoint, keys, UDP firewall | The peers are not completing transport |
| Handshake works, tunnel IP fails | Address, AllowedIPs, interface state | The peer routing or tunnel address is wrong |
| Tunnel IP works, internet IP fails | Forwarding and masquerading | The server is not routing or translating packets |
| Internet IP works, names fail | Client DNS configuration | DNS is outside the working path |
| Works briefly, then stops behind NAT | PersistentKeepalive on the client | The NAT mapping is expiring |
| Server works, client cannot reach another VPN peer | Peer AllowedIPs and forwarding policy | The server does not know which peer owns the destination |
Read the output from wg show, ip route, and the firewall counters. Those commands tell you which layer failed. Replacing all keys tells you nothing and invalidates the one evidence you had.
For systemd-managed interfaces, read the unit log:
sudo journalctl -u wg-quick@wg0 -b
This catches bad configuration syntax, failed firewall hooks, and interface setup errors. If the interface disappears after a reboot, the log is more useful than a screenshot of the client app.
What are the common WireGuard setup mistakes?
The most common mistakes are ordinary routing errors dressed up as cryptography problems.
- Using the wrong server interface in NAT. The tunnel can handshake while forwarded packets leave through the wrong device.
- Putting the server's public key in the wrong field. A server peer needs the client's public key. A client peer needs the server's public key.
- Reusing tunnel addresses. Each peer needs a unique address and a matching
AllowedIPsentry. - Opening TCP instead of UDP. WireGuard listens for UDP packets.
- Forgetting the upstream firewall. A local
iptablesrule cannot override a blocked cloud firewall. - Adding
0.0.0.0/0too early. Start with the VPN subnet, prove the tunnel, then move to full routing. - Assuming
wg-quickis a VPN policy engine. It applies the configuration you give it. It does not invent DNS, forwarding, or firewall rules. - Leaving private keys readable. Keep client and server configuration files restricted to their owners.
If your Linux server also hosts web applications, keep VPN routing separate from HTTP routing. WireGuard handles encrypted IP traffic; a reverse proxy handles web requests. Those are different jobs. Use Nginx as a Linux reverse proxy when you need web routing, not another WireGuard rule.
How do you add more clients?
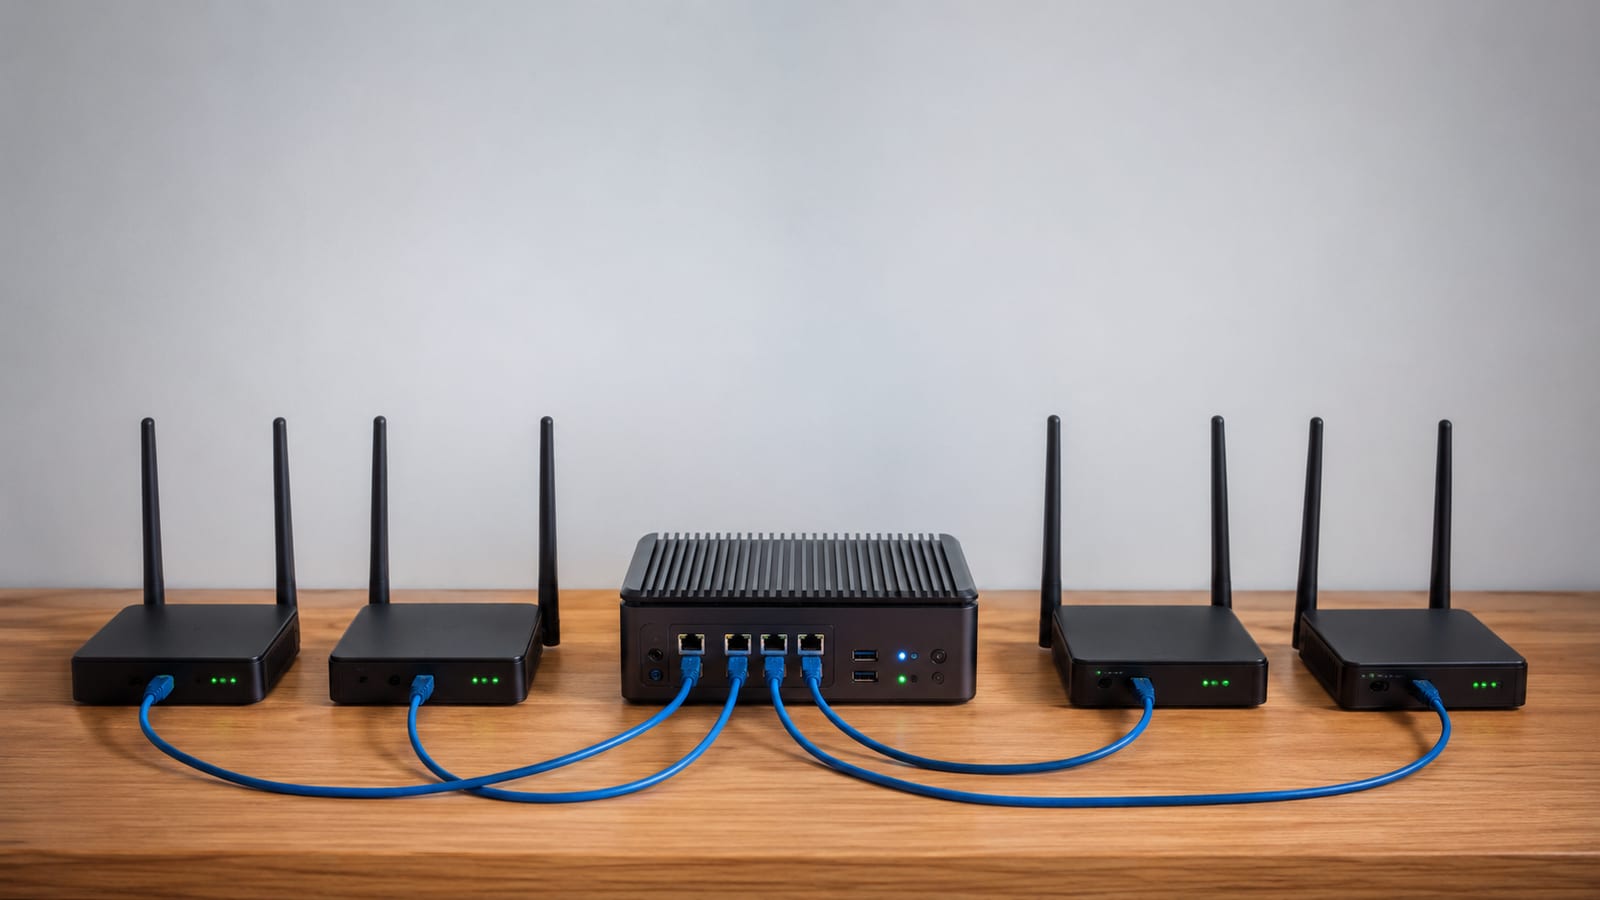
Create one key pair and one tunnel address for each client. Add one peer block to the server for each device:
[Peer]
PublicKey = LAPTOP_PUBLIC_KEY
AllowedIPs = 10.8.0.2/32

[Peer]
PublicKey = PHONE_PUBLIC_KEY
AllowedIPs = 10.8.0.3/32

[Peer]
PublicKey = ROUTER_PUBLIC_KEY
AllowedIPs = 10.8.0.4/32
Then apply the changed configuration:
sudo wg syncconf wg0 <(wg-quick strip wg0)
sudo wg show
wg syncconf updates the live interface without taking down existing peers. The process substitution works in Bash and compatible shells. If you prefer a full restart, use sudo wg-quick down wg0 followed by sudo wg-quick up wg0, but that interrupts every connected client.
For a home network, a router peer may need more than one AllowedIPs route. Its entry must describe the private network behind that router, and the router must route replies back through the tunnel. That is a separate site-to-site design, not a second copy of the laptop configuration.
FAQ
Can WireGuard run without a public server address?
Yes, but the server must still be reachable through port forwarding, a stable DNS name, or another network path. If both peers sit behind NAT, configure the peer that may receive incoming traffic with a reachable endpoint and use keepalives where the NAT requires them.
Can I change a peer's address later?
Yes. Change the address in the client interface section and the matching AllowedIPs entry on the server. Bring the client back up, then confirm the new route with wg show and ip route.
How do I revoke one lost device?
Remove that device's [Peer] block from the server and reload the interface. Then generate a new key pair for the replacement device. WireGuard has no central user directory to clean up for you, so the server peer list is the access list.
Can I use a hostname for Endpoint?
Yes. The client resolves the hostname before it sends traffic. Use a stable name, and remember that changing the DNS record does not change the peer keys or tunnel addresses.
Should I run WireGuard inside a container?
Run it on the host first unless isolation is the actual requirement. Containers add network namespaces, capabilities, device access, and firewall layers to a problem that already has enough moving parts. Once the host setup is reproducible, a containerized design becomes something you can diagnose instead of something you hope will work.
