
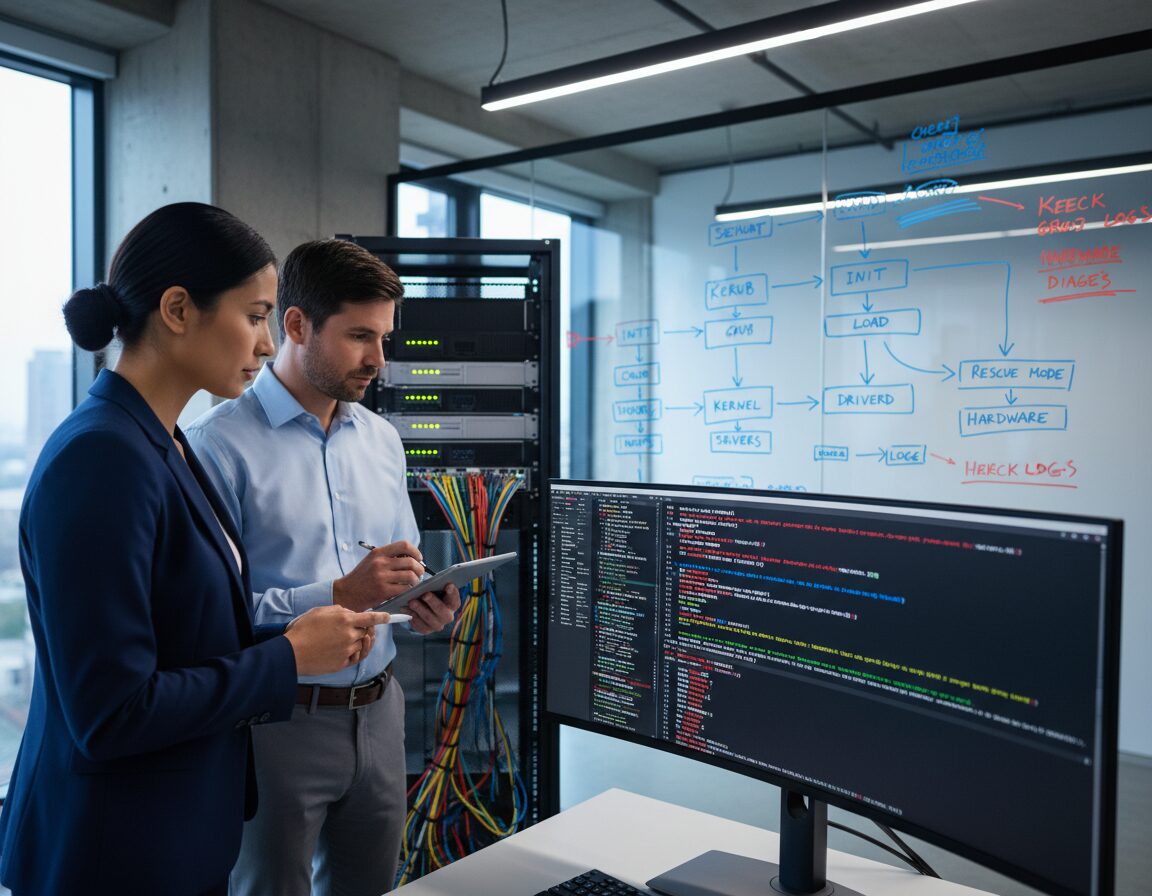

Fix Boot Errors Linux: Troubleshooting Guide for Past Issues
Imagine your workstation refusing to power on—not with a hardware click, but with a cryptic message on a black screen. I’ve been there; it’s more common than you think. A single misconfigured kernel parameter or a corrupted disk can bring everything to a halt.
My experience shows most startup failures are recoverable. The key is a systematic approach. First, determine if the problem is hardware or software. I’ve rebuilt machines from similar crises by following a logical sequence of diagnostic steps.
This guide provides the exact methods I used. You will learn how to diagnose the startup process, repair the bootloader, and ensure your environment remains stable. Let’s restore access to your files and applications.
Key Takeaways
- Differentiate between hardware and software issues when your machine won’t start.
- Follow a logical, step-by-step diagnostic sequence to identify the root cause.
- Most system startup failures are fully recoverable with the right approach.
- Learn to diagnose the intricate stages of the boot process.
- Gain the skills to repair or reconfigure the bootloader.
- Implement solutions to keep your environment stable for daily operations.
Understanding UEFI/BIOS and System Boot Fundamentals
When troubleshooting a non-starting machine, the first place I look is the interaction between BIOS/UEFI and the disk. This silent handshake happens before your operating system loads.
The firmware performs a Power-On Self-Test (POST). It verifies core hardware like memory and processors. Then, it searches attached storage.
How UEFI/BIOS Checks Disks and Partitions
My approach starts here. The firmware scans disks for a valid boot record. On legacy setups, it looks at the Master Boot Record (MBR) sector.
For modern GUID Partition Table (GPT) disks, it targets the EFI System Partition (ESP). This partition holds the bootloader files. If the firmware finds nothing, you get a blank screen or a setup menu.
MBR Versus GPT: What to Look For
Knowing your disk layout is critical. I’ve built this quick reference table from my own diagnostics.
| Feature | MBR (Legacy) | GPT (Modern) |
|---|---|---|
| Maximum Partition Size | 2 TB | 9.4 ZB |
| Bootloader Location | First disk sector | EFI System Partition |
| Primary Partitions | 4 maximum | 128 typical |
| Data Integrity | No built-in checks | CRC32 protection |
| Firmware Interface | Requires Legacy BIOS | Designed for UEFI |
Check your system’s firmware setting. MBR disks often need Legacy/CSM mode. GPT requires UEFI.
Interpreting Boot Process Errors at Startup
Common messages reveal the failure point. “No bootable device” means the firmware found no valid bootloader on any disk. “Invalid partition table” often points to a corrupted MBR.
An “EFI stub” error suggests a missing or misconfigured ESP. I note the exact phrase—it’s the clue for the next repair step.
Diagnosing Boot Errors with Real-World Examples
Let’s cut through the abstraction and look at how actual users have solved their startup problems. I find community threads invaluable—they document the exact missteps and solutions.
Analyzing Boot Logs and efibootmgr Output
Take one example from 2014. A user named Kazuldur had a Lenovo IdeaPad U310 that wouldn’t reach the BIOS setup menu after some manual changes.
His efibootmgr output showed entries like Boot0000 and Boot0001. The firmware had replaced the original boot order. This is a common issue when modifying settings.
I now use that command every time to verify the boot sequence. It’s the surest way to confirm the system targets the correct drive.
Lessons Learned from User Troubleshooting Threads
These real-world cases teach a clear lesson. Even a minor configuration error can stop the POST sequence cold.
Your computer might seem completely stuck. The recovery process begins by checking the logs. They show the precise point of failure.
That output is your roadmap. It turns a vague problem into a solvable one.
fix boot errors Linux: Bootloader and GRUB Troubleshooting
When the boot process stalls after the POST, the issue often centers on the bootloader. I’ve found GRUB misconfiguration or corruption is a frequent culprit.
Reinstalling GRUB is my go-to solution for this problem. It works whether your setup uses UEFI or legacy BIOS.
Reinstalling GRUB on EFI and Legacy Systems
Boot from a live USB environment first. This gives you access to your drives and the necessary tools.
For a legacy MBR system, I run a specific command. Use grub-install –target=i386-pc /dev/sdXY. Replace ‘sdXY’ with your actual disk identifier.
This writes the bootloader directly to the disk. It’s a standard recovery option after a failed update or partition change.
Temporarily Editing Boot Configurations for Recovery
Sometimes you just need to get the kernel loaded one time. Hit the ‘e’ key when the GRUB menu appears.
This opens an editor for the current boot entry. You can modify parameters to bypass a broken service.
It’s a powerful way to gain temporary access. From there, you can make permanent repairs. This method has saved me time during many recovery sessions.
Recovering System Access with Chroot and Live Environments
When your computer’s main partition is inaccessible, a live environment provides a lifeline to your data. I use this method to regain control of a stalled system. It’s a direct path to your files and configuration.
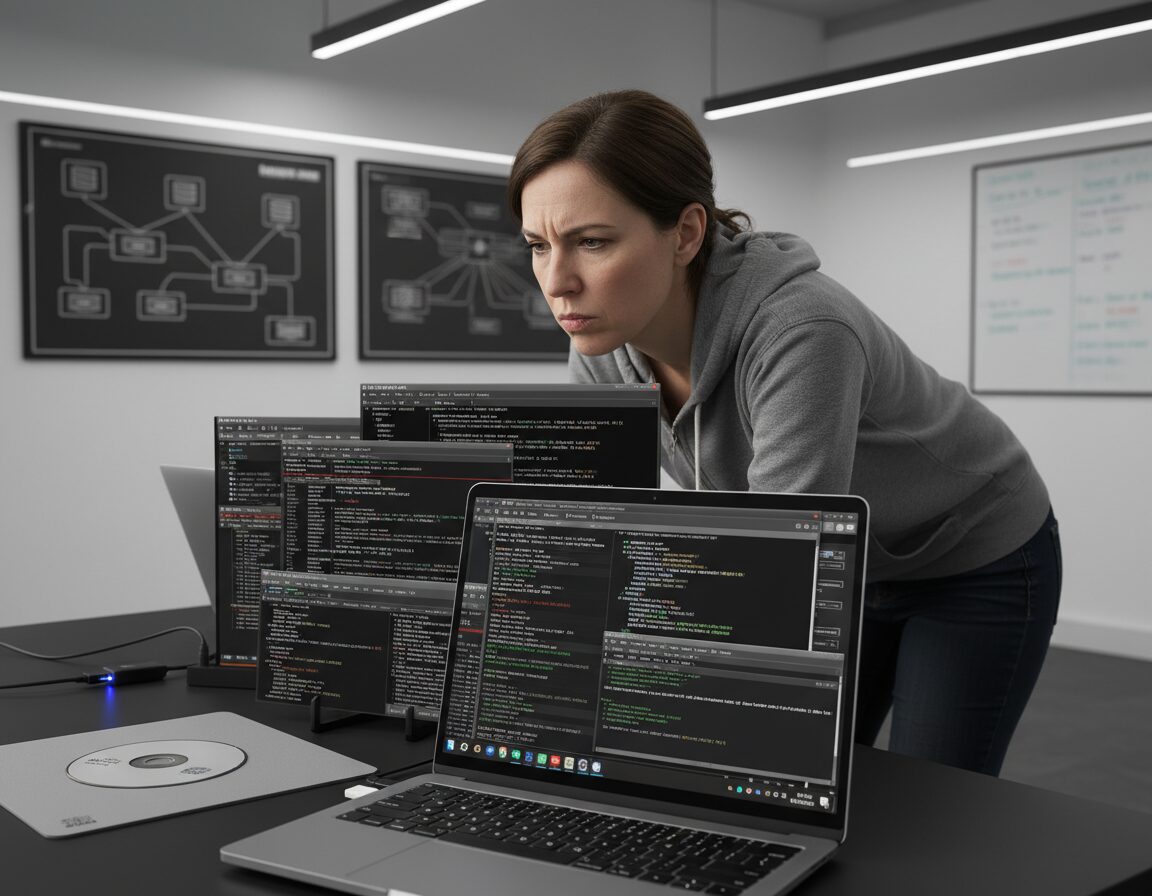
Setting Up a Live Environment for Diagnostics
I always keep a bootable USB drive ready. It’s the most reliable way to access a broken machine. Boot from it to load a temporary operating system.
This live session runs entirely from the USB media. It gives you full root access to tools and your internal drives. You can examine logs and test hardware without touching the installed system.
Mounting Filesystems and Entering Chroot
First, identify your root partition. Mount it to a directory like /mnt. This is the critical first step.
You must also bind the virtual filesystems. Mount /proc, /sys, and /dev inside your target. This ensures the chroot environment works correctly.
Now you can change root into your installed system. It’s like logging directly into it from the live session.
Using Arch-Chroot and Non-Arch Approaches
The arch-chroot script simplifies this process. It handles the mounting steps for you. I find it especially handy when working across different distros.
If you’re not on Arch Linux, use the standard chroot command. Manually mount your filesystem first. Then run chroot /mnt to gain access.
From here, you can repair configurations, update packages, or rescue files from your home directory. This method effectively restores a system with a damaged partition.
Strategies for Resolving Display and Session Issues
Sometimes the problem isn’t getting to the login screen—it’s what happens after you log in. Your system might pass all the initial checks, then stall on the graphical interface. I’ve seen this many times: a successful startup followed by a blank or frozen display.
These are session-layer problems. They often involve the desktop environment or the display manager. My approach is to isolate the faulty component first.
Investigating Session Saving Problems in Linux
Session managers remember your open windows and applications. This is a convenient default feature. But it can cause major issues if a broken session saves automatically.
Neville Jackson suggested disabling these managers to resolve startup troubles. I agree. Sheila Flanagan’s case with MX Linux is a perfect example. Her system had windows opening at every boot. Disabling the session manager solved it.
Here’s a quick comparison of common managers and their behaviors:
| Session Manager | Default Saving | Common Issue | Action |
|---|---|---|---|
| GNOME Session | Enabled | Restores crashed apps | Toggle in Settings |
| KDE Plasma | Enabled | Duplicate windows | Use System Settings |
| XFCE Session | Manual | Blank screen on resume | Clear saved sessions |
| LightDM | N/A (Display Manager) | Fails to start desktop | Switch TTY for diagnosis |
Adjusting Desktop Environment Settings for Stability
When your desktop fails to load, try switching to a different TTY. Press Ctrl+Alt+F2. This bypasses the graphical display manager. It tells you if the problem is with the login screen or the desktop itself.
I always disable the default session saving option after a crash. This prevents a broken state from loading on every boot. It’s a simple but effective thing to do.
If you use multiple distros, be careful. Your home directory and session files can be overwritten by another kernel or manager. Keep configurations separate.
For major instability after an update, use restoration tools. Sheila Flanagan used Timeshift to roll back her MX Linux drive to a previous image. It’s a reliable way to recover a working desktop environment.
Step-by-Step Repair of Partitions and Bootloader Components
My repair process always begins with a precise check of the disk layout using command-line tools. This is the foundation for any partition or bootloader work. I need to know exactly what I’m dealing with before making changes.
Checking and Mounting the EFI System Partition
The EFI System Partition is a small, critical piece of the startup puzzle. It’s typically between 200 and 500MB in size. For a computer with a GPT disk, this partition is required for the kernel to load.
Here is my standard procedure:
- First, I run sudo fdisk -l. This command lists all disks and partitions on the system.
- I look for a small partition with the ‘EFI System’ type label. Its size is the giveaway.
- Once identified, I mount it to the /boot/efi directory. This makes the boot files accessible.
- With the partition mounted, the path is clear to reinstall the bootloader manager.
This process resolves the common issue where the firmware cannot find the default boot entry. It’s a direct, mechanical fix for a stalled startup.
Maintaining System Integrity and Preventing Future Boot Errors
The true test of any recovery isn’t fixing the immediate problem—it’s ensuring it doesn’t happen again. After you’ve restored access, the focus must shift to proactive defense. I build resilience into every system I manage.
Updating System Backups and Disk Images
Sheila Flanagan’s experience taught a valuable lesson. Relying solely on snapshot tools like Timeshift is not enough. She now creates a full disk image of her computer every single week.
This is my standard advice. A complete image captures the entire drive, including the boot sector. It’s the ultimate recovery option when a partition table gets corrupted.
I also use tools like smartctl to check disk health. A failing drive is a common root cause of startup trouble. Catching it early prevents a major issue.
For dual-boot setups with Windows, pay close attention to the boot manager. Ensure it’s configured to handle both systems without overwriting the default entry. This avoids a confusing blank screen on your next power-up.
Keep your system backups current. An updated image guarantees you can restore your home directory and settings. Test this process by booting from a live USB to verify the recovery image works.
This proactive approach turns a one-time repair into lasting stability for your machine.
Wrapping Up Your Boot Recovery Process
Wrapping up a successful recovery means shifting from reactive troubleshooting to proactive system management. I treat every resolved issue as a blueprint. Documenting the exact steps creates a repeatable process for the future.
Your primary defense is preparation. Always keep a bootable USB drive ready. Maintain a recent, verified disk image of your entire system. These are the non-negotiable tools for any serious user.
For machines that dual-boot with Windows, pay special attention after updates. The boot manager can be overwritten. Keep a separate backup of its configuration to avoid a blank display on startup.
This disciplined approach is how you build a stable desktop. It transforms a one-time repair into lasting reliability for your daily work.
FAQ
What’s the first thing I should check when my computer won’t start?
How can I tell if my disk uses MBR or GPT partitioning?
My screen shows a "grub rescue>" prompt. What do I do?
What’s the purpose of entering a chroot environment?
How do I access boot logs to diagnose the problem?
My desktop environment fails to load after login. How do I troubleshoot this?
What’s the safest way to prevent these startup problems in the future?
Related: Linux Kernel Panic: Find the Real Cause, Not the Reboot
